HOW TO WIPE UP ALL DATA FROM YOUR STOLEN OR LOST DEVICE
Whenever you lose a phone or any smart device that runs on an operating system, you also lose your private data. Losing private data and sensitive files are even more frightening than losing expensive equipment. The data stored in your lost device can be accessed by an anonymous person that can cause hazards to your privacy and business.
Even if your lost device has a powerful screen lock and other security features, there is no guarantee your data will be kept safe. Most people these days are highly knowledgeable and skilled and can break through strong security encryptions within minutes.
Thanks to Google’s “Find My Device” innovation, it is possible to erase all data from stolen or lost Android devices. Apple is neither sluggish when it comes to providing the latest security features for its devices. Thanks to Apple’s Find My iPhone technology, it is possible to wipe data from iOS devices remotely.
This means you can delete all data from your stolen phone or tablet, no matter whether you own an iOS or Android device.
In this article, you will learn how to remove all data from a stolen Android device or iPhone. So what’s the wait? Let’s get started.
How to Erase All Data from Lost Android Device?
Step 1: Setting Up Find My Device
You need to install and set up Find My Device app on your Android device in order to delete data from it remotely when you misplace it. Here’s how to do this:
- First and foremost, head to Google Play Store on your Android phone or tablet.
- In the search bar, put in Find My Device.
- Then choose the best matching app from the result.
- Now make sure to download and install it by pressing the Install button.
- In case the app is already installed, tap on the Update button to install the latest version.
- Once the app is installed, open Google Settings.
- Head to Security and then to Find My Device option.
- Now make sure that the option saying Find My Device is ticked.
- Allow the permissions that the service prompts you to provide.
- Congrats, the service is now enabled on your Android device.
Now, ensure that all of your sensitive or private data is stored on the device’s internet storage. Don’t store any important information on the SD card because the device would not be able to erase it with “Find My Device.”
Step 2: Erasing Data on a Lost Android Phone or Tablet
- First and foremost, open the “https://www.google.com/android/find?u=0” web address on any other device such as your laptop, desktop, or smartphone.
- Then, make sure that you are signed into Google with the same account as your lost device.
- Once you are logged into your account, the Find My Device webpage will show you the current location of your device with a full map.
- You can, first of all, try to reach the location with the Google Map Navigation.
- If you are unable to find it, press the first option on the left side, saying “Play Sound” to ring your device for 5 minutes. This will help you in locating your device easily.
- Now, if you are unable to find it even after ringing, then hit the Erase Device option to quickly delete all of your device data.
- This will format all of the internal storage of your lost device.
This is how you can quickly erase all data from your lost Android phone.
How to Remotely Erase All Data on Your iPHone?
Step 1: Setting Up Find My iPhone
To get this ability on your device, follow the instructions mentioned down here:
- First and foremost, head to Settings on your iPhone.
- Find your Apple ID account; it is located on the top under the Settings app.
- Once you find it, click on it.
- Go to iCloud.
- Now make your way to the Find My iPhone option.
- Make sure it is enabled.
- Congrats, your iPhone can now be remotely erased with Find My iPhone.
Step 2: Use Find My iPHone to Remotely Erase an iPhone
- First and foremost, visit the iCloud.com on any of your devices with an internet browser.
- Now sign in to your iCloud account.
- Then make your way to the All Devices option.
- Pick the iPhone that has been stolen or lost.
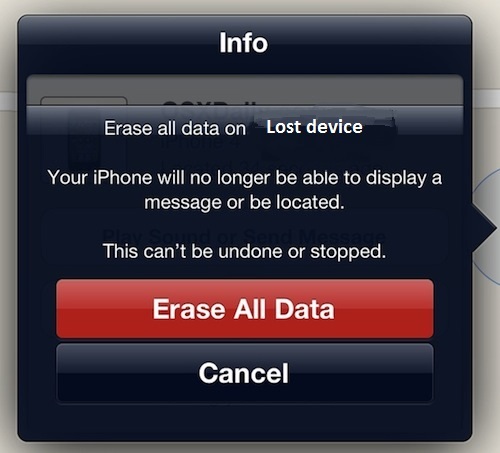
- Choose the Erase iPhone option to quickly delete all data stored on your iPhone.
That’s it!
Elina John is a self-professed security expert; she has been making the people aware of the security threats. Her passion is to write about Cyber security, cryptography, malware, social engineering, internet and new media. She writes for Microsoft products at office.com/setup.


Comments
Post a Comment